The Great Divide
We are losing cells all of the time. How do we make new ones?
Ready...
A part of you is dying or needs repair every second. Wait what?
When we sleep, fall, or scrub in the shower, there are skin cells that are rubbed off. New cells are developing all the time. How does that happen?
Look at the vocabulary list for this lesson.
Review the vocabulary and complete the mitosis and miosis crossword.
We will practice remembering the phases of cell reproduction. After you watch the video and finsish the video quiz there is an in class activity.
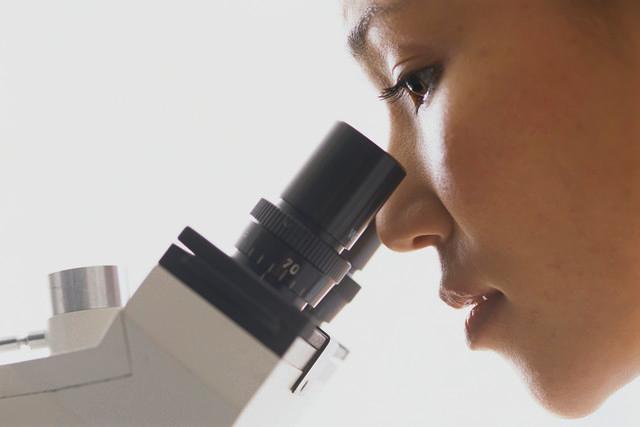
What is cell division?
Cell division is a complex task which involves the parts of the cells we studied in the last lesson.
Where does DNA live in a cell? What does it look like? Take three minutes to discuss this with your lab partner. Write the answers in your lab book or notes.
Mitosis
The video has two parts. Take notes and answer the movie quiz after learning about body cell division.
Meiosis
Something happens that makes animal and human reproduction work. You will see that half your genes come from your mother and half from your father.
Is it always half?
We are now going to learn about reproduction of sex cells. Watch the video, and yes there will be a short quiz afterward.
Both kinds of cell divisions occur in stages. In the next part of the lesson, we are going to make a little tool that will help us explain the process.
Set...
-
Download the handout for the stages of mitosis (body cell reproduction)
-
Now get the meiosis handout. These are the stages that sex cells go through when they reproduce.
-
We are going to make a tool to help you remember and teach someone else about the phases of cellular regeneration.
 You will need the following materials:
-
Four (4) sheet of poster paper
-
A brass brad (pictured left)
-
Drawing pencil
-
Scissors
Go...

-
Place one piece of poster paper on top of the other.
-
Cut the poster papers into a circular shape about six (6) to eight (8) inches in diameter.
Leave yourself room to draw six to eight shapes on the bottom paper.
-
Draw the phases of mitosis on the bottom paper.
The pictures should fit evenly in six sections around the bottom paper
-
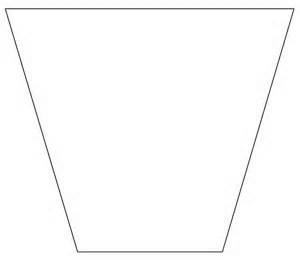
Cut a trapazoid in the top paper
The trapazoidal shape is going to form a 'window' for individucal pictures on the bottom of your cell.
The small end will be face the center of the paper.
Leave enough room from the center of your paper so that when you make a whole in the two pieces with your pencil the top paper does not rip.
-
With your pencil, make a big enough whole for the brad to fit through the center of both pieces of paper.
The top paper should spin freely exposing one phase drawing as it spins.
You are the Teacher
Now, you are the teacher. Teach the phases of mitosis to two high school, or college, students and one adult that are not a biology course. Once you have completed teaching each person, have them sign the back of your cell. Turn in your signed cell by the end of the week.
Also, for homework pre-read the Introduction to Genetics section in your biology text. The Heredity, Genes, and DNA will also provide valuable.